The cleanest-looking line can also be the most damaged
A pale groove between tiles may look satisfyingly clean after a hard brush and an acidic homemade mixture. Look closer and the joint may simply be lower. Repeated chemical and mechanical attack can remove the coloured surface, expose coarse aggregate and leave a channel that catches water and soil faster than before.
That creates a frustrating loop. The rougher joint darkens sooner, so the next cleaning becomes stronger. Eventually a cleaning problem has been turned into a material-loss problem. Before choosing a bottle or brush, ask three questions: what is the joint made from, what is sitting on it and is the material still intact?
Grout is a job description, not one single material
Traditional cementitious grout contains cement and aggregate and forms a porous mineral matrix as it cures. Epoxy grout uses a resin system and is usually far more resistant to staining. Other proprietary grouts use different binders and additives. A flexible joint at a wall corner or around a bath may be silicone or another sealant, not grout at all.
Those materials do not share one universal cleaner. A method that a cement-grout maker approves for efflorescence may cloud resin, strip sealer, etch stone or damage flexible sealant. Find the installation record, product name or supplier guidance where possible. If the joint is unknown, use the least aggressive compatible test rather than assuming every line between tiles is cement.
Vinegar reacts with more than the dirt
The Tile Council of North America explains the central chemistry plainly: cement grout is alkaline and acids dissolve its cement component. Vinegar therefore does not distinguish between a mineral deposit on the joint and part of the joint itself. One dramatic before-and-after photograph cannot show how much binder was sacrificed to make the line look lighter.
Purpose-made acidic cleaners do exist, but that does not make household acid a routine grout wash. A technical cleaner may be authorised for a particular cured grout, tile and deposit at a specified dilution, dwell time, rinse and neutralisation sequence. Acid can also etch natural stone, affect metal and strip some sealers. Product-specific permission is the boundary.
A stiff brush can hide erosion by making it look even
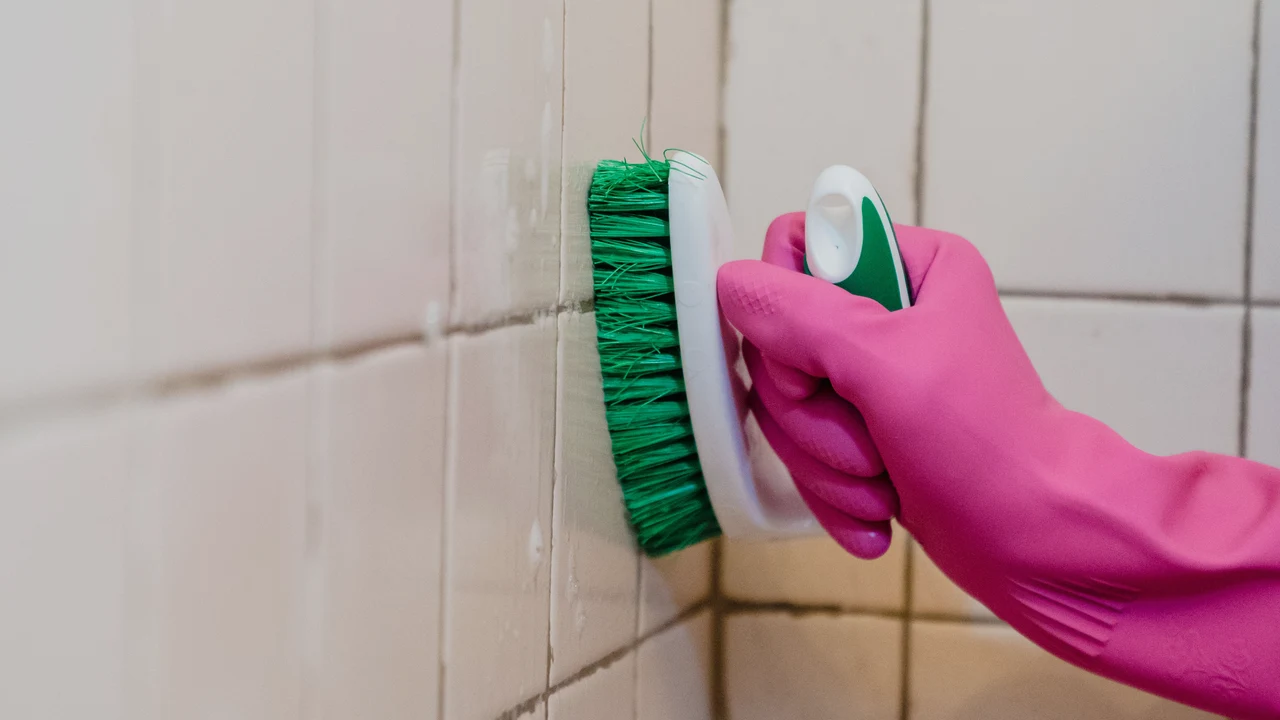
Mechanical action is useful because it moves loosened soil. Force becomes destructive when abrasive grit, a metal brush or very stiff bristles repeatedly cut into a soft, cracked or acid-weakened joint. The damage may appear as a shallow trough, sandy texture, crumbling edges or colour that grows patchier after every session.
Use the tool named by the grout or cleaner manufacturer. Maintenance guidance from LATICRETE specifies gentle scrubbing with a nylon brush or suitable pad for its cement finishes. Keep the tool clean, work along the joint and let the approved chemistry and dwell time loosen soil. Pressing harder is not a substitute for identifying the stain.
Dark, white and patchy joints tell different stories
A dark line may hold ordinary soil, oily product residue, mould growth, absorbed staining or moisture. A white haze may be cleaner residue, hard-water scale, construction haze, efflorescence or a sealer affected by moisture. Patchy colour can come from uneven wear, old repairs, excess water during installation or pigment removed by aggressive treatment.
Colour alone cannot decide the method. Note whether the mark is powdery, greasy, fuzzy, local to a leak, concentrated near the floor or returning after every shower. Photograph a dry area in consistent light. The pattern is evidence for a small controlled test, not proof that the strongest product on the shelf is required.
Start with a dry inspection before adding more water
Check for cracks, missing sections, hollow edges, loose tile, failed corner sealant and a joint that has become lower than the tile. If grout is loose or sandy under light finger pressure, cleaning is no longer the main task. Flooding a failed joint with cleaner can carry soil and chemistry deeper without restoring the missing material.
For a sound floor, remove loose dust, hair and grit before wet cleaning. In a shower, rinse away movable residue and allow enough light to see the joint clearly. Protect nearby stone, metal and coatings. Choose an inconspicuous test section and change only one variable so the result can be understood.
Routine cleaning should begin close to neutral
Manufacturer care documents commonly begin with a clear pH-neutral tile-and-stone cleaner for everyday maintenance. Apply the labelled dilution, give it the stated contact time and use a compatible nylon brush or non-scratch pad. More concentrate is not automatically more effective; it can make rinsing harder and leave a film that attracts new soil.
If the problem is greasy soap or body-product buildup, a grout maker may direct the use of an alkaline cleaner or degreaser. That is a soil-specific escalation, not permission to combine products. Test the cleaner on both grout and tile because a glazed ceramic face, polished stone and printed decorative tile can react differently from the joint.
Removing the dirty liquid matters as much as brushing
A brush suspends soil in the cleaning solution. If that grey liquid is pushed across the floor and allowed to dry, some of the contamination and detergent can settle back into the porous joint. The Tile Council recommends extracting the dirty water and warns that poorly rinsed cleaner can leave a sticky film that attracts dirt.
On a small wall area, lift the solution with clean absorbent cloths and rinse as the label directs. On a suitable floor, wet extraction equipment may help if the appliance, grout, tile and surrounding construction permit it. Do not flood a bathroom or use a household vacuum for liquid unless it is explicitly designed for wet pickup.
White residue may be a moisture clue, not leftover soap
Efflorescence forms when water moves soluble salts through a cement-based installation and evaporation leaves crystals at the surface. Scrubbing away the visible salts does not explain where the moisture entered. The Tile Council notes that efflorescence can return while moisture continues to move through the assembly.
Some topical sealers can also turn whitish in the presence of moisture. Before using acid on a pale deposit, identify whether the grout is cured, whether a sealer is present and whether water is arriving from above or below. Persistent white residue, dampness or odour may justify an installer or building inspection rather than another cleaning cycle.
Mould control begins with moisture control
The US Environmental Protection Agency says the key to mould control is controlling moisture. For small growth on a cleanable hard surface, its household guidance starts with detergent and water followed by complete drying. It also recommends fixing leaks, improving bathroom ventilation and cleaning more frequently when shower mould returns.
Simply changing a dark mark to pale does not prove the moisture source is solved or the growth has been removed. Bleach is not recommended by the EPA as a routine answer to every household mould problem, and dead mould can still be allergenic. Never mix bleach with acid, ammonia or another cleaner. Use a labelled product only on listed compatible surfaces and ventilate as directed.
Grout is not the shower's waterproofing system
Tile and grout are the visible finish. The Tile Council warns that grout joints are not waterproof, while Australia's National Construction Code requires waterproof treatment to shower floors, walls, junctions and penetrations. A sound wet area relies on the complete assembly beneath and around the tile, not on a bottle of penetrating sealer alone.
This distinction matters when grout cracks or stays wet. Recolouring or sealing the top may improve appearance and stain resistance, but it cannot prove the membrane, drainage connection or wall junction is intact. Water outside the shower, swollen skirting, loose tile, persistent damp odour or staining in an adjoining room needs building investigation.
A crack is evidence of movement or installation failure
The Tile Council lists several possible causes for cracked or loose grout, including substrate deflection, grout that was not packed deeply enough and excess water or additive during installation. Cleaning cannot diagnose which one occurred. Filling only the visible surface can hide the line briefly while the cause remains active.
Movement joints at changes of plane normally need an appropriate flexible sealant rather than rigid grout. When cement grout itself must be replaced, the Tile Council says a successful repair generally requires removal to substantial depth, not a skim over the old surface. In a shower, careless removal can damage tile edges or waterproofing, so a qualified tile professional is the safer choice for structural, widespread or recurring failure.
Sealer reduces absorption but cannot rebuild a weak joint
A compatible penetrating sealer can improve stain resistance for some cement grouts. Epoxy grout may not require the same treatment, and a topical coating can change appearance or trap a whitening problem. The grout and sealer manufacturers must agree on compatibility, cure time, preparation and reapplication.
Do not seal over dirt, active mould, damp material, efflorescence or crumbling grout. Sealer cannot replace missing binder, stop substrate movement or substitute for a wet-area membrane. Treat it as optional surface protection after the joint is clean, dry, sound and correctly diagnosed.
Use a stop rule before the next cleaning session
Proceed only when the joint is sound, the grout type is known or the method is deliberately conservative, and the cleaner is compatible with the tile and surrounding materials. Test a small area, follow the labelled dilution and dwell time, agitate gently, remove the dirty liquid, rinse as directed and let the section dry before judging it.
Stop when grout becomes sandy, lower, patchier or loose; when a crack returns; when moisture appears outside the wet area; or when an unchanged dry test suggests permanent staining. The most valuable result may be discovering that the joint needs repair, not proving that a stronger acid and harder brush can make one more layer disappear.
Sources and further reading
- Tile Council of North America: Cleaning cementitious and epoxy grout ↗
- Tile Council of North America: Grout, flexible joints and acid-cleaning risks ↗
- Tile Council of North America: Causes and repair limits for cracked or loose grout ↗
- Tile Council of North America: Efflorescence, moisture and whitening sealers ↗
- LATICRETE Australia: Care and maintenance of cement-based finish materials ↗
- LATICRETE: Maintenance guide warning that acid can corrode cement grout and strip sealers ↗
- MAPEI: Grout maintenance using neutral, alkaline and deposit-specific cleaners ↗
- US EPA: Household mould cleanup and moisture control ↗
- US EPA: Bathroom ventilation, cleaning and never mixing products ↗
- Australian Building Codes Board: Wet-area waterproofing requirements ↗
- Pexels: Bathroom-tile photograph by Liliana Drew ↗
This article was written for Curiosity Desk. We do not copy other publishers or invent quotes. If a material error is found, we correct it openly.
Read the full standards →One answer should lead to a better question
Bring your curiosity to the group
Curious Minds is our public Facebook community for surprising science, strange history, Australian wildlife and everyday questions. No copied posts, no personal-friend invitations and no link dumping.
- Three self-contained discussion prompts each week
- Sourced answers and honest uncertainty
- Respectful conversation without spam